Bowl Track Wear Inspection Guide: When Feeder Tooling Wear Starts Hurting Output
Why tooling wear often hides inside normal production drift
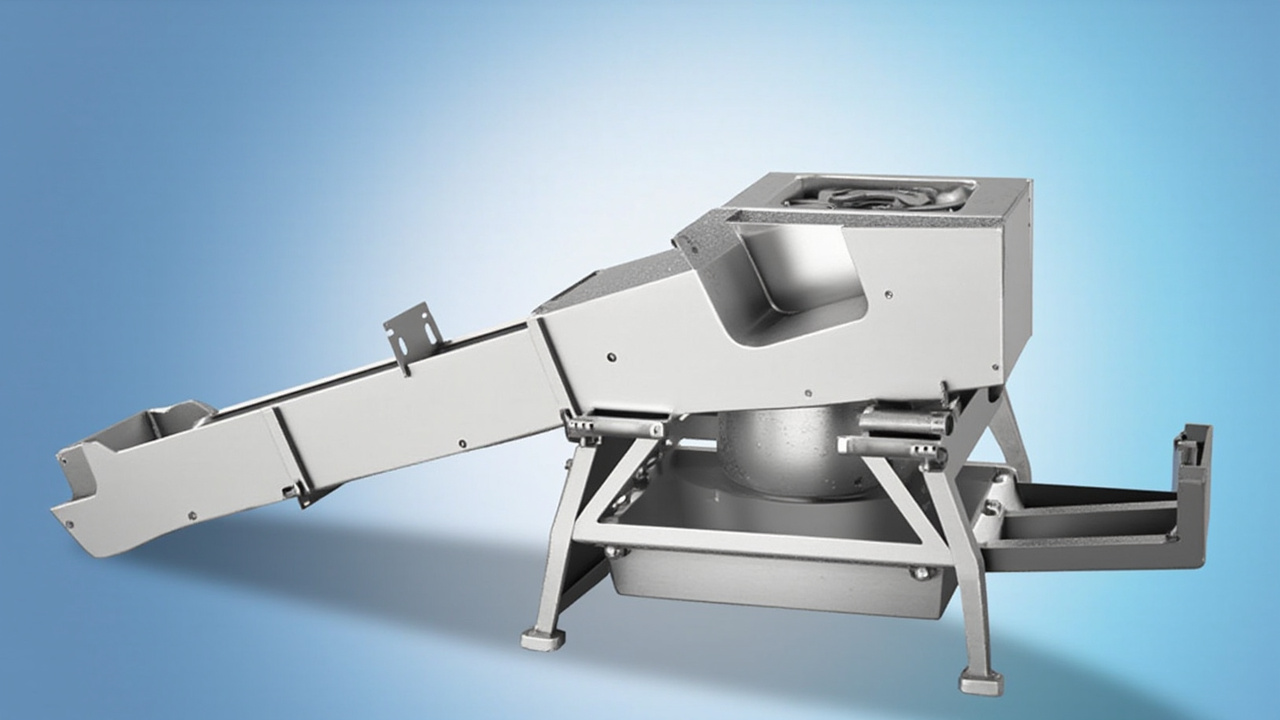
A bowl feeder rarely fails the day its tooling begins to wear. More often, the change arrives gradually: a little more vibration to get the same feed rate, a few more random jams, a light mark on the part, or a selector that used to hold tolerance but now feels unpredictable. Because the change is slow, teams often blame settings, part variation, or operator technique before they inspect the track itself carefully.
Track wear matters because the bowl does not need dramatic physical damage to lose control. Small geometry change, coating loss, edge rounding, and surface contamination can all move the feeder away from its validated behavior. This guide fits with our maintenance checklist, tooling design guide, and spare-parts strategy article.
How wear shows up in production
The earliest symptoms are usually operational, not visual.
| Wear sign | Operational symptom | Likely cause | Inspection focus |
|---|---|---|---|
| Coating thinning | Parts move faster in some zones and stick in others | Uneven friction path | High-contact bends and selector edges |
| Rounded selector edge | Wrong orientation escapes increase | Critical geometry no longer separates reliably | Decision points along the track |
| Surface roughness or burrs | Scratches or hang-ups | Impact and abrasion over time | Transitions and final release areas |
| Track width change | Jams rise after refill or at high output | Long-term wear or repeated rework | Narrow sections and windows |
How to inspect the track in a useful way
Start with the locations where parts touch repeatedly at higher speed: entrance zones, selector windows, reject points, and the last section before release. Those areas usually tell you more than a general visual sweep of the whole bowl.
Compare current settings and output against the last known-good condition. If the feeder now needs more amplitude, more air, or more operator intervention to reach the same rate, the tooling path may already be consuming more motion than before.
Do not inspect surface appearance alone. A track can still look acceptable from a distance and be dimensionally wrong where it matters. The most useful maintenance practice is to tie inspection back to the actual defect pattern the line is seeing: jams, escapes, cosmetic marks, or unstable presentation.
Inspection rules that save time
- Inspect the highest-contact tooling points first, not the whole bowl evenly.
- Compare wear findings with output drift, jam history, and setting changes.
- Treat cosmetic damage and orientation escapes as tooling clues, not only quality events.
- Keep reference photos or dimensions from the validated feeder build when possible.
What to do after repair or recoating
After tooling work, recheck the feeder at the same fill range and target output used in production. Repairs that look visually correct still need to prove they restore the motion path the station expects.
Confirm that the downstream pickup or escapement still receives the part in the same pose. A small tooling correction can shift the final presentation even when the bowl rate improves.
If your project is debating repair versus replacement, our retrofit guide and make-or-buy article help frame that decision.
Maintenance checklist for bowl track wear
- Mark the highest-contact zones and inspect them on a schedule.
- Record output drift, defect pattern, and adjustment history before rework.
- Measure or photograph critical tooling windows against the last approved condition.
- Revalidate feed rate and orientation after any coating or geometry repair.
Huben Automation reviews bowl wear as a performance problem, not only a visual maintenance issue. If you want help deciding whether a track needs repair, recoating, or redesign, send us the current defect pattern and bowl photos.
Ready to Automate Your Production?
Get a free consultation and detailed quote within 12 hours from our engineering team.


