Vibratory Bowl Feeder Maintenance Checklist 2025: Prevent Downtime & Save Costs
Why Preventive Maintenance Matters for Vibratory Feeders
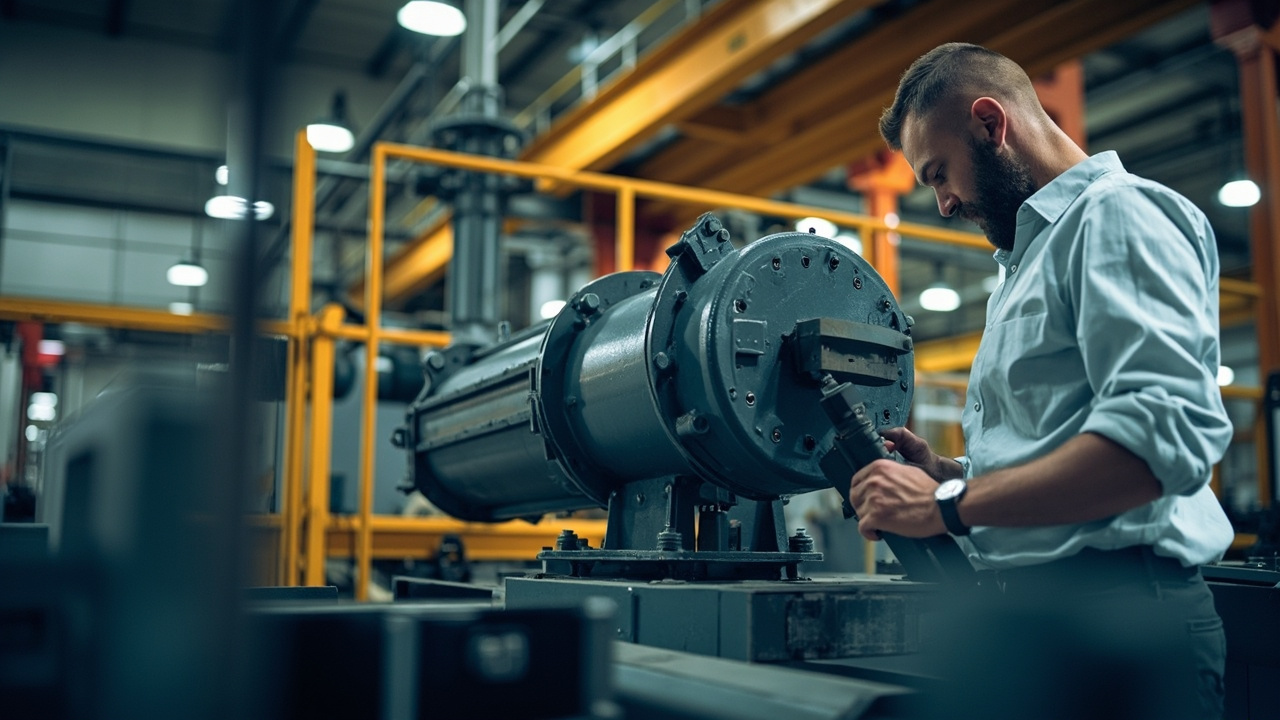
Vibratory bowl feeders are the heartbeat of an automated assembly line. When they stop, the entire production process comes to a halt. While these systems are inherently robust—often running millions of cycles per month—they are not maintenance-free. A proactive vibratory bowl feeder maintenance checklist can reduce unexpected downtime by up to 80% and save your facility 40-60% in emergency repair costs.
In this comprehensive 2025 guide, we break down the exact daily, weekly, monthly, and annual maintenance steps required to keep your vibratory feeding systems operating at peak efficiency. Implementing these practices will extend the lifespan of your equipment, maintain consistent feed rates, and protect your investment in factory-direct automation.
Daily Maintenance Checklist
Daily maintenance should take no more than 5-10 minutes per feeder but is critical for catching small issues before they escalate into major failures.
1. Visual and Auditory Inspection
- Listen for unusual noises: A healthy feeder has a consistent, rhythmic hum. Any sudden rattling, clanking, or metallic scraping indicates loose components or a cracked spring.
- Check for part jams: Inspect the track and selector tooling for any stuck parts or debris. Clear jams immediately using proper tools, never bare hands.
- Observe the feed rate: Watch the parts move up the track. They should flow smoothly without stalling or cascading backward.
2. Cleaning and Debris Removal
- Wipe down the bowl interior: Use a clean, lint-free cloth to wipe the bowl track. For oily environments, use a mild solvent (like isopropyl alcohol) to remove buildup that causes parts to slip.
- Empty the purge tray: If your feeder has a reject or purge chute, empty it daily to prevent backup into the main bowl.
- Check for foreign objects: Remove any dust, metal shavings, or incorrect parts that may have been accidentally loaded into the hopper.
Weekly Maintenance Checklist
Weekly tasks require a bit more hands-on inspection and are designed to verify the mechanical integrity of the feeder system.
1. Fastener and Hardware Check
- Inspect mounting bolts: Vibration naturally loosens hardware over time. Check and tighten the main mounting bolts securing the bowl to the drive unit, and the drive unit to the table.
- Verify tooling security: Ensure that all selector blades, baffles, and orientation features are tightly secured. A loose selector can cause a 50% drop in orientation accuracy.
2. Pneumatic System Verification
If your feeder uses air jets for part rejection or assistance:
- Check air pressure: Verify that the incoming air supply matches the required specification (usually 0.4-0.6 MPa).
- Inspect nozzles: Ensure air nozzles are not clogged with oil or dust. Clean with a fine wire if necessary.
- Verify alignment: Ensure the air blast is hitting the exact target area on the track.
Monthly Maintenance Checklist
Monthly maintenance involves deeper inspection of the critical drive components. This is when you should schedule 30-45 minutes of planned downtime per feeder.
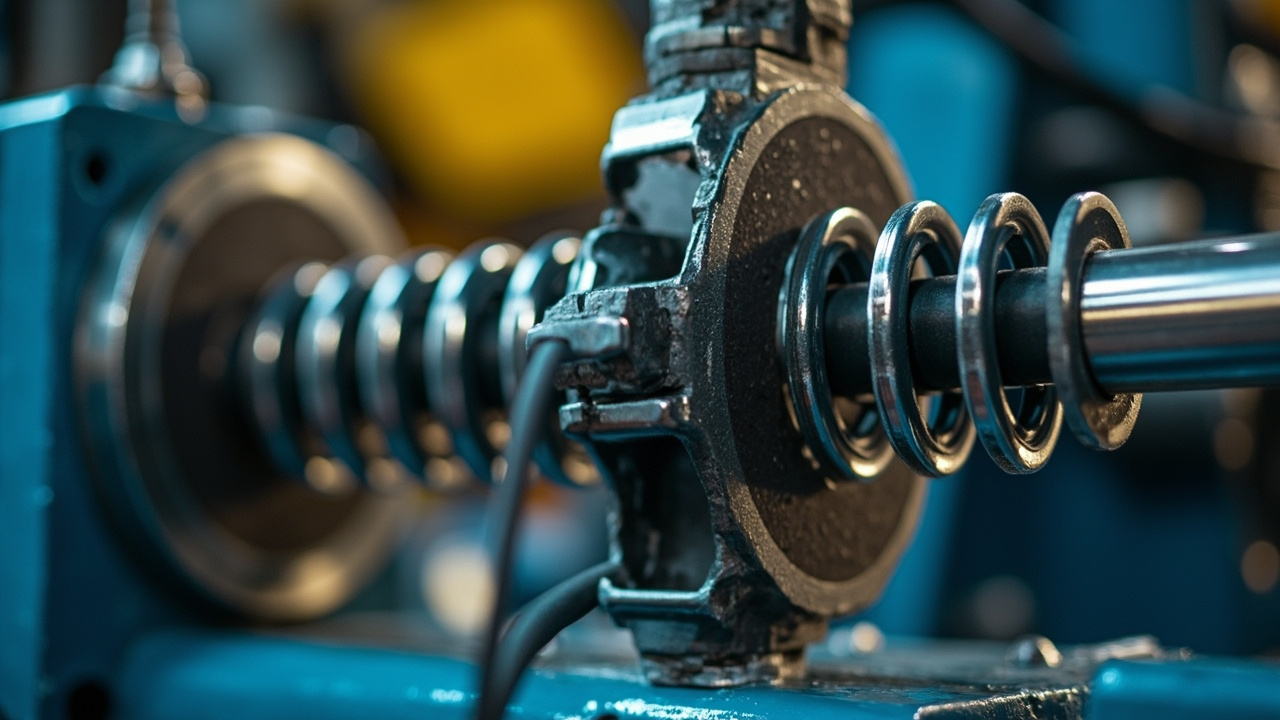
1. Spring Pack Inspection
- Visual check for cracks: Inspect every leaf spring in the drive unit. Even a microscopic hairline crack will alter the tuning and eventually lead to catastrophic failure.
- Check for corrosion: Rust on the springs alters their stiffness. If operating in a humid environment, ensure the springs are clean and protected.
- Verify bolt torque: Use a torque wrench to ensure all spring mounting bolts are tightened to the manufacturer's specification. Uneven torque leads to erratic vibration.
2. Coil and Air Gap Adjustment
- Measure the air gap: Use a feeler gauge to measure the gap between the electromagnetic coil and the armature plate. It should strictly adhere to the manual's specification (typically 0.5-1.0 mm).
- Inspect for strike marks: If the gap is too small, the armature will strike the coil, causing severe damage. Look for shiny wear marks on the coil face.
Annual Maintenance and Overhaul
Once a year, perform a comprehensive review of the feeder's performance and consider replacing wear parts before they fail.
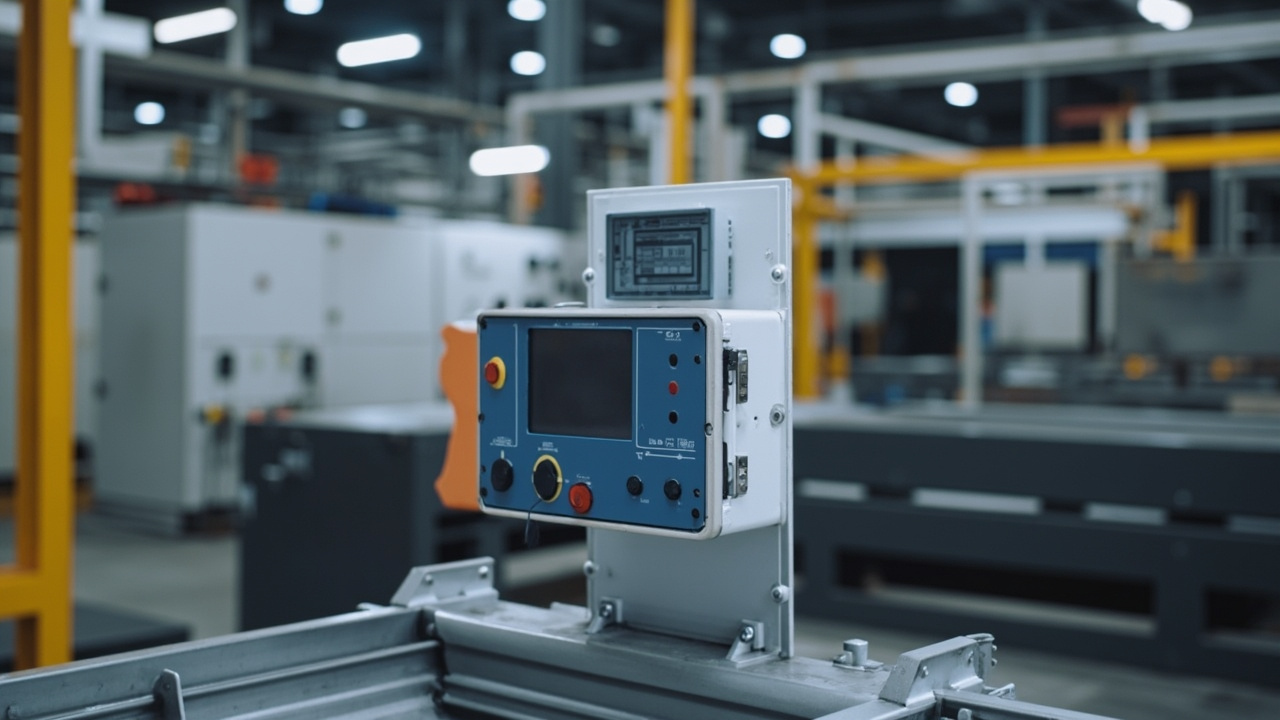
1. Electrical and Controller Inspection
- Check wiring harnesses: Inspect all cables for fraying or cracked insulation caused by constant vibration.
- Clean the controller: Open the controller cabinet (with power off) and blow out any accumulated dust using dry compressed air.
- Test the amplitude sensor: If your feeder uses a closed-loop controller with an accelerometer, verify its calibration.
2. Track Wear Assessment
Over millions of cycles, even hardened steel or polyurethane-coated tracks will wear down.
- Measure track thickness: Compare the current track thickness in high-wear areas against the original specifications.
- Inspect coating integrity: If your bowl has a PU or Teflon coating, look for peeling, bubbling, or deep gouges. A worn coating will damage delicate parts and alter the feed rate.
- Consider resurfacing: If the coating is severely degraded, schedule the bowl to be stripped and recoated.
Maintenance Schedule Summary Table
| Task | Frequency | Time Required | Key Benefit |
|---|---|---|---|
| Track cleaning & wipe down | Daily | 5 mins | Prevents part slippage and jams |
| Listen for abnormal noise | Daily | 1 min | Early warning of mechanical failure |
| Tighten mounting hardware | Weekly | 10 mins | Maintains stability and orientation accuracy |
| Check air jet alignment | Weekly | 5 mins | Ensures proper part rejection |
| Inspect leaf springs | Monthly | 15 mins | Prevents catastrophic drive unit failure |
| Measure coil air gap | Monthly | 10 mins | Optimizes energy use and prevents coil damage |
| Electrical system check | Annually | 30 mins | Prevents shorts and controller failure |
| Track coating assessment | Annually | 20 mins | Protects parts from cosmetic damage |
Partnering with the Right Manufacturer
While following this vibratory bowl feeder maintenance checklist will significantly improve your uptime, the foundation of reliability is the equipment itself. Huben Automation designs and manufactures custom vibratory feeding systems built for longevity. Our engineering team utilizes advanced materials and robust designs that reduce maintenance frequency by up to 30% compared to standard models.
By sourcing factory-direct from Huben, you not only save on initial capital expenditure but also gain direct access to our technical support team for lifecycle maintenance advice. Learn more about our custom automation or contact us today to discuss how our reliable automation solutions can improve your production efficiency.


