Centrifugal Feeder Troubleshooting: 10 Common Issues & Fixes (2026)

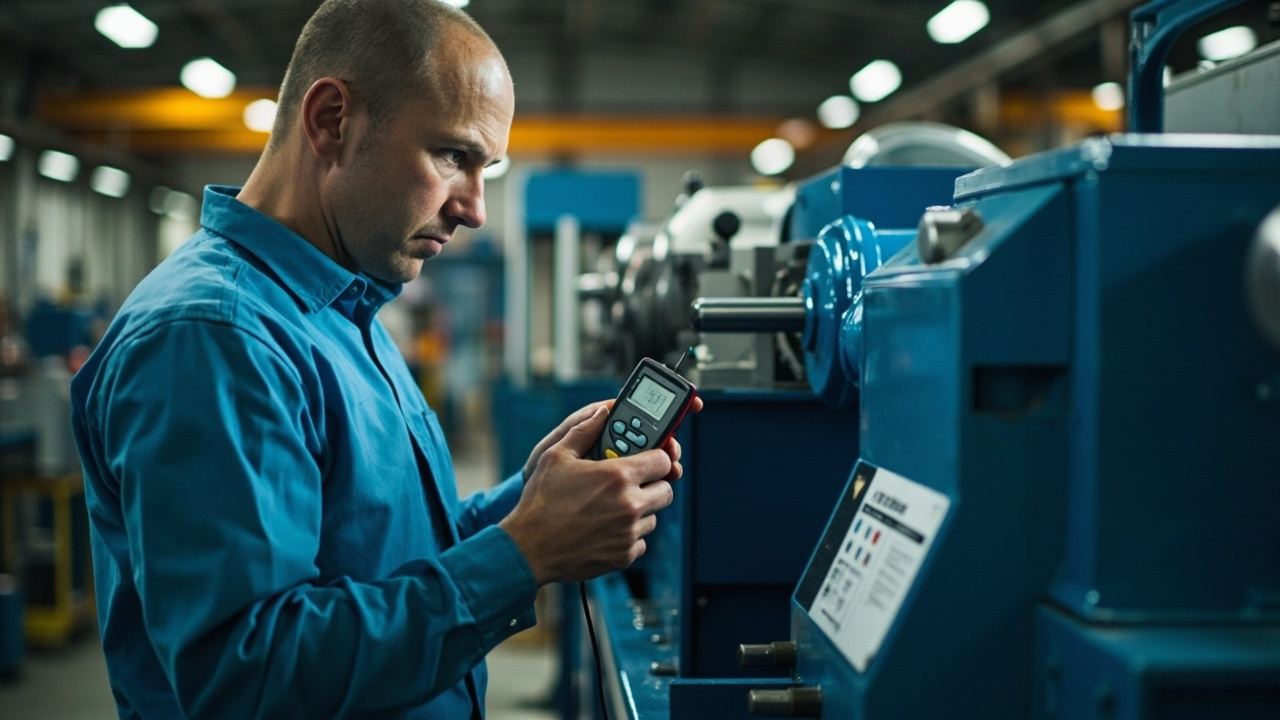
How to Troubleshoot a Centrifugal Feeder
Centrifugal feeders fail in patterns. Out of the dozens of service tickets Huben handles each quarter, ten root causes account for about 85% of issues. Most are fixable on-site in under two hours once correctly diagnosed; the trick is correctly diagnosing them. This guide walks through the ten most common failures, the symptoms, the diagnostic test, and the fix — in the same order Huben field engineers work through them.
Before you start: have the centrifugal feeder running at production RPM with a representative part lot. Many issues only show up at speed and with real parts. For root-cause methodology see the downtime root-cause analysis guide; for high-rate engineering see 1,200 ppm sustained.
The 60-Second Diagnostic Flow
Always start with these three questions before opening the cabinet:
- Is the disc spinning at the right RPM? Tach it. If RPM is off, the issue is upstream of mechanical (motor, VFD, controls).
- Are parts moving outward to the rim? If yes, mechanical force is fine — the issue is selector or discharge. If no, the issue is disc surface friction or part feed rate to disc.
- Is the discharge passing parts at expected rate? If yes and you're still under target, the issue is upstream (hopper, recirculation). If no, the issue is at the selector, escapement, or discharge interface.
Most field troubleshooting fails because technicians skip these three questions and start tuning. Don't.
Issue 1: Throughput Below Target
Symptoms: Feeder runs cleanly but achieves 60–85% of target ppm. No jams, no audible problems.
Most common root causes:
- Selector yield below specification — typically 70–82% when target is 88%+
- Disc surface friction too low (parts sliding past selector, not engaging)
- Hopper feed rate inconsistent, starving disc 5–15% of cycle
- RPM detuned below design point because someone "tried to reduce noise"
Diagnostic test: Manual count parts at discharge for 60 seconds and compare to disc revolution count × parts-per-revolution × design yield. If shortfall > 10%, problem is selector yield. If shortfall is "bursty" (high then low), problem is hopper feed rate.
Fix: If selector yield, re-tune selector air-jet timing first (25 ms is a common starting point at 100 RPM). If hopper feed, install or adjust a level sensor for steady part density on the disc. Level sensor setup guide applies to centrifugal hoppers.
Issue 2: Parts Tumbling on Disc
Symptoms: Parts visibly somersault, spin chaotically, or "fly" near the disc rim. Selector yield collapses to 40–60%.
Most common root causes:
- RPM too high for part mass — centrifugal acceleration exceeds 2 g
- Disc surface friction too low (worn coating, contamination, oily parts)
- Part lot has higher than expected dimensional variance
Diagnostic test: Reduce RPM by 15% and re-observe. If tumbling stops, RPM was too high. If tumbling persists, friction or part lot is the issue.
Fix: First, accept the lower RPM if downstream demand allows. Second, clean disc surface — even mild oily-fingerprint contamination changes friction by 20–40%. If coating is visibly worn (see Issue 9), re-coat. For oily parts, the longer-term answer is often migrating to a vibratory bowl with an oil-management track. See oily parts design.
Issue 3: Disc Stops or Stalls Under Load
Symptoms: Disc spins fine empty but stalls or runs intermittently when full of parts.
Most common root causes:
- Motor undersized for actual part mass (common after part-lot weight increase)
- VFD current limit set too low
- Bearing seizure or coupling slip
- Load on the disc exceeds design (over-fill from hopper)
Diagnostic test: Check VFD current draw. If at trip limit, motor is loaded beyond capacity. If well below trip and disc still stalls, the issue is mechanical — bearings or coupling.
Fix: Reduce hopper feed first; verify it solves the symptom. If not, check VFD current limit setting (often factory-set conservatively for shipping safety). If load is genuinely too high, motor upgrade is the answer — typical: AC 1.5 kW → 2.2 kW costs USD 700–1,200 plus labor.
Issue 4: Selector Starvation
Symptoms: Discharge runs in bursts — 200 parts in 10 seconds, then nothing for 5 seconds. Average rate is on target but downstream cells starve.
Most common root causes:
- Bulk pile in disc center too dense, parts not migrating to selector at steady rate
- Recirculation channel returning parts faster than selector can re-handle them
- Air-jet rejection too aggressive, ejecting partly-correct parts that should pass
Diagnostic test: Run with reduced hopper feed (50% of normal) and observe burstiness. If smooth, hopper density is the issue. If still bursty, selector logic or air-jet timing.
Fix: Add a discharge accumulator (90-second buffer is standard) so that selector burstiness doesn't propagate downstream. Tune air-jet to reject only definitively misoriented parts; let marginal parts recirculate naturally. Buffer management guide details accumulator sizing.
Issue 5: Frequent Jams at Discharge
Symptoms: Parts jam at the discharge slot or escapement, requiring manual clearing every 15–60 minutes.
Most common root causes:
- Discharge slot clearance wrong for part dimension tolerance band
- Two parts arriving simultaneously at single-lane escapement
- Part orientation marginal — selector passes "almost-correct" parts that jam downstream
- Mechanical wear at discharge surfaces creating burrs or rough spots
Diagnostic test: Examine 10 jammed parts. If all jams are the same orientation, selector logic is the issue. If random orientation, geometry/clearance is the issue.
Fix: Re-measure discharge slot clearance against current part lot dimensions (parts drift over time). Adjust clearance by 0.1–0.3 mm if needed. For burr/wear, hand-deburr or replace the discharge insert. Escapement design recommends single-part presentation.
Issue 6: Excessive Noise or Vibration
Symptoms: Sound level above 75 dB(A) at 1m, frame vibration, or downstream pick-zone instability.
Most common root causes:
- Disc unbalance — typically after a coating refurb or disc damage
- Mounting frame loose or worn vibration isolators
- Part-to-disc contact noise (parts bouncing rather than sliding)
- Resonance between disc speed and frame natural frequency
Diagnostic test: Run disc empty at production RPM and measure noise/vibration. If high empty, problem is mechanical (balance, mount). If only with parts, problem is part-to-surface dynamics.
Fix: Empty-disc unbalance: rebalance (ISO G2.5). Loose mount: replace isolators (USD 80–250) and verify level. Part bouncing: change disc coating to higher-damping (Shore 85A PU). Resonance: change RPM by 10% to step out of resonance band. For acoustic enclosure see enclosure design.
Issue 7: Orientation Errors at Downstream
Symptoms: Vision system or downstream sensor flags misoriented parts at 1–5% rate. Selector reportedly "rejected" them but they slipped through.
Most common root causes:
- Selector tooling worn — selector profile no longer matches part profile
- Part lot dimensional drift outside selector tolerance window
- Air-jet pressure low or inconsistent (compressed-air issue, not selector)
- Vibration causing parts to shift orientation between selector and discharge
Diagnostic test: Measure compressed-air pressure at the selector solenoid during operation — not at the regulator. Measure 10 parts that the vision system flagged: are they within drawing tolerance?
Fix: Restore air-jet pressure to spec (typically 4 bar). Replace selector tooling if profile is visibly worn. If part lot has drifted, talk to upstream supplier — feeder cannot compensate for parts outside drawing tolerance.
Issue 8: Hopper Feed Inconsistent
Symptoms: Disc alternates between starved and over-loaded. Throughput cycles between 60% and 110% of target.
Most common root causes:
- Hopper level sensor poorly placed or threshold wrong
- Hopper outlet bridge or rat-hole — parts not flowing freely
- Hopper vibration insufficient to break bridges
- Part lot has changed cohesion (humidity, surface treatment, dust)
Diagnostic test: Manually disable level-sensor control and refill hopper to 80% capacity. Run 30 minutes and observe: if throughput stabilizes, control logic is the issue. If still cycles, hopper outlet flow is the issue.
Fix: Adjust level sensor threshold (typical: top 30%, bottom 60% of disc surface area). For bridging, increase hopper vibration amplitude or install a redirector. For cohesion changes, address the upstream lot. Hopper elevator guide covers most common failure modes.
Issue 9: Disc Surface Wear
Symptoms: Visible disc surface degradation — coating loss, polishing, scratches, or pitting. Yield dropping over weeks.
Most common root causes:
- End of expected coating life (PU: 18–36 months continuous; PTFE: 24–48 months)
- Abrasive parts faster than expected
- Cleaning chemicals attacking coating (solvents on PU)
- Mechanical impact from foreign objects (dropped tools, screws in part lot)
Diagnostic test: Visual + thumbnail test: if coating gives slightly under thumbnail pressure, friction is still adequate. If hard and polished, friction has dropped — yield will keep falling.
Fix: Plan re-coating during next scheduled maintenance window. Re-coating cost is 30–50% of new disc; plan for it as a normal lifecycle event. Document part-lot characteristics that cause faster wear and adjust expected coating life.
Issue 10: Control or VFD Faults
Symptoms: VFD trips, motor stops, or HMI shows fault — typically intermittent.
Most common root causes:
- Over-current trip from disc overload (see Issue 3)
- Over-temperature trip from poor cabinet ventilation
- EMC interference from nearby high-current equipment
- Loose terminations on motor leads or sensor wiring
- Firmware fault after power dip
Diagnostic test: Read VFD fault code. Most VFDs log the last 4–8 fault events. Pattern matters more than the latest event.
Fix: Document fault code and frequency. For intermittent EMC, add ferrite cores on motor cabling. For over-temp, clean cabinet filters and verify fan operation. Loose connections: torque-check at next maintenance. Firmware fault: power-cycle and verify with vendor whether a firmware update is recommended.
Preventive Maintenance Schedule That Prevents 80% of These
Most centrifugal feeder failures are preventable with a sane PM schedule. The Huben recommended baseline:
| Frequency | Action | Time |
|---|---|---|
| Daily (operator) | Visual disc inspection, hopper level, listen for unusual noise | 5 min |
| Weekly | Clean disc surface, check air-jet pressure, log throughput | 15 min |
| Monthly | Lubricate motor bearings (sealed: skip), check belt tension, verify VFD parameters | 30 min |
| Quarterly | Selector tooling inspection, air-jet timing verification, vibration baseline | 2 hours |
| Annually | Full mechanical inspection, isolator condition, electrical torque-check | 4 hours |
| 18–36 months | Disc coating re-application or replacement | Service event |
For the broader maintenance framework see the maintenance checklist.
When to Call Service vs. DIY
Most of the issues above are operator-fixable in under two hours with the right diagnostic flow. Three scenarios where calling the OEM saves more than it costs:
- Disc unbalance after a service event — needs balancing equipment most plants don't have
- Repeated VFD or controls faults — usually requires firmware-level access
- Servo motor or drive failure — out-of-tolerance servo parameters can damage the disc
For everything else, walk the diagnostic flow. The 60-second test usually points to the right fix.
FAQ
Why does my centrifugal feeder run perfectly empty but jam with parts?
Almost always selector starvation or discharge clearance. Empty operation does not test selector logic, air-jet timing, or discharge clearance. Diagnose at production load with representative parts.
The throughput dropped overnight without any change. What happened?
Most common: the part lot changed (new shipment from supplier with slightly different dimensions or surface finish). Compare current parts to specification dimensions and surface profile against drawings.
Should I replace the disc or just re-coat it?
Re-coat is the answer for 90% of disc-wear cases. Replace only when the aluminum core is dimensionally damaged (impact dent, edge nick > 1 mm) or when corroded beyond polish-out. Re-coat cost: 30–50% of new disc. Disc replacement: full machine downtime + tooling re-validation.
The motor is hot — is that normal?
An AC motor at production duty runs warm to hot (60–80°C surface temperature) — that's normal. Above 90°C, investigate ventilation, load, and cabinet temperature. Servo motors typically run cooler (40–65°C); above 75°C investigate.
How do I track centrifugal feeder uptime metrics?
The four metrics that matter: jams per hour, mean time between jams (MTBF-like), parts per minute average, parts per minute peak. Most modern HMIs log all four. MTBF/MTTR guide covers the calculation methodology.
How long does a centrifugal feeder typically last?
Mechanical structure (frame, motor, bearings): 12–20 years with PM. Disc with re-coating: 8–15 years. Tooling: 3–8 years per part SKU. Controls and VFD: 8–12 years. Most cells get fully refurbished at 8–10 years rather than replaced — refurbishment cost is 40–55% of new.
Next Steps
If you have a centrifugal feeder issue you cannot diagnose with the flow above, capture three pieces of data before calling support: current RPM and target, throughput in ppm averaged over 5 minutes, and a 30-second video of the disc at production speed. Huben Engineering can usually diagnose remotely from those three inputs alone. Contact our service team for remote diagnostic support, or for the broader engineering reference start with the centrifugal feeder pillar guide.
Ready to Automate Your Production?
Get a free consultation and detailed quote within 12 hours from our engineering team.