Bowl Feeder Track Coating Repair Guide: When to Recoat vs Replace

Coating wear is gradual until it is not
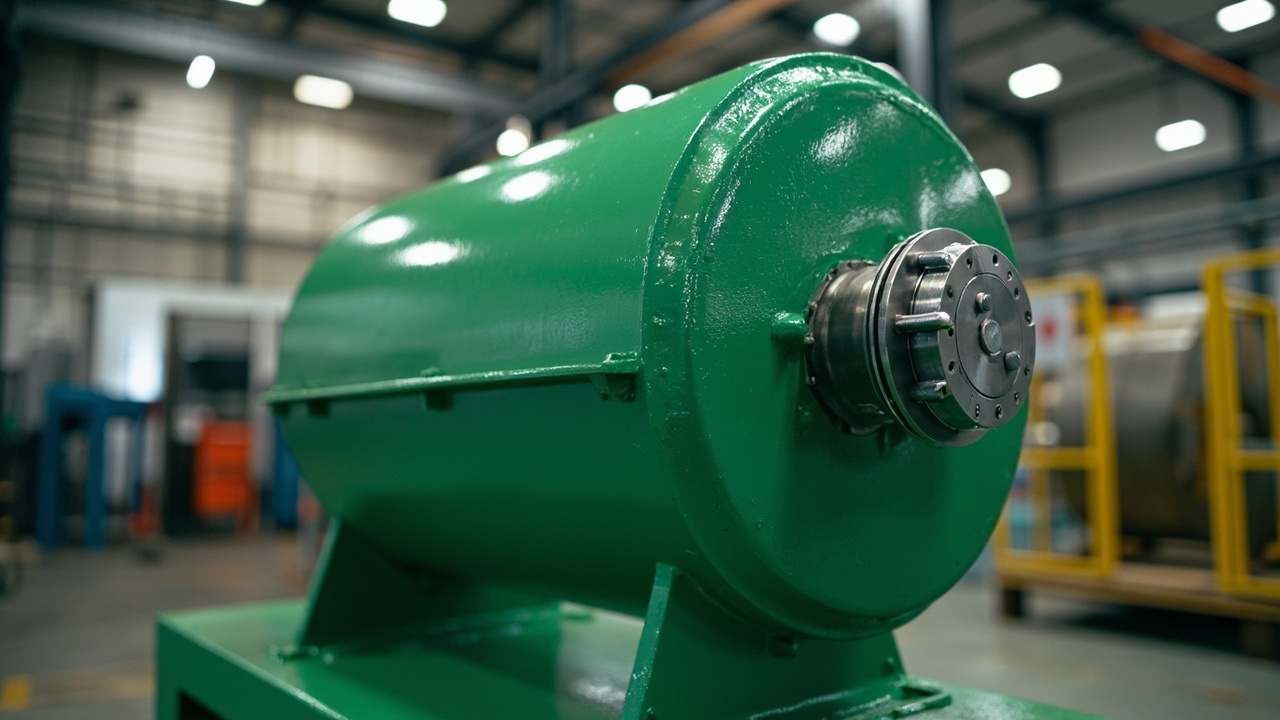
Bowl feeder track coatings do not fail on a single day. The surface slowly loses thickness, grip, and uniformity over thousands of hours of operation. Then one morning the feed rate drops, orientation escapes spike, or a cosmetic defect appears on the parts, and the team realizes the coating has crossed from acceptable wear into functional failure.
The decision to recoat or replace the entire bowl is not always obvious. A track with localized wear in one bend may be a straightforward recoating job, while a bowl with widespread thinning, underlying metal damage, or multiple previous repair layers often needs full replacement. This guide walks through the inspection, decision logic, and execution of both paths. For broader coating selection context, see our vibratory bowl feeder coating selection guide.
Signs that a bowl feeder coating needs attention
Coating deterioration shows up in production before it looks dramatic on the bowl surface. The most reliable indicators are operational, not visual.
- Feed rate drift: The same amplitude setting produces 10-20% lower output than the validated baseline. Operators compensate by increasing vibration, which accelerates wear.
- Orientation escapes: Parts that were reliably oriented begin passing through selectors in the wrong pose. Worn coating changes the friction coefficient at decision points, so parts no longer tip or slide as designed.
- Part marking: Scratches, dents, or rub marks appear on parts that previously fed clean. Exposed metal or rough coating edges are the usual cause.
- Visible coating damage: Peeling, blistering, gloss loss, or color change in high-contact zones. Gloss loss alone is not always a problem, but it signals that the surface chemistry is changing.
- Sticky zones: Parts slow down or stall in specific track sections while flowing freely elsewhere. This usually means the coating has worn thin enough that the underlying metal is exposed in patches, creating inconsistent friction.
For a systematic approach to catching these signs early, our bowl track wear inspection guide provides a structured checklist tied to production metrics.
When recoating is viable versus full replacement
The recoat-versus-replace decision depends on three factors: the extent of coating damage, the condition of the underlying metal, and the number of previous repair layers already on the bowl.
| Condition | Recoating | Full Replacement |
|---|---|---|
| Localized wear in 1-2 track sections | Yes, spot repair | No |
| Widespread thinning across most of the track | Yes, full recoat | Consider if metal is damaged |
| Coating peeling in large sheets | Risky; adhesion may fail again | Usually better |
| Underlying metal gouged or deformed | No; new coating will not fix geometry | Yes |
| 2 or more previous recoat layers | Risky; buildup distorts geometry | Yes |
| Coating change required (e.g., PU to PTFE) | Yes, if metal is sound | No, unless geometry also needs work |
| Bowl more than 8 years old with original coating | Possible, but inspect metal carefully | Often more cost-effective long term |
The critical constraint is geometry. Each recoat layer adds 0.3-0.8 mm of thickness depending on the material. After two or three recoats, selector windows narrow, track clearances tighten, and the original tooling geometry is distorted. At that point, replacement is the correct engineering decision, not a cost compromise.
Surface preparation steps for recoating
Surface preparation determines whether a recoat lasts 6 months or 3 years. Skipping or rushing preparation is the single most common reason recoated tracks fail prematurely.
- Remove all existing coating. Do not recoat over old material. Chemical strippers (methylene chloride based for PU, specialized PTFE removers for Teflon) or mechanical removal (abrasive blasting with aluminum oxide at 60-80 psi) are both effective. Mechanical removal is preferred because it simultaneously profiles the surface for adhesion.
- Inspect the bare metal. After stripping, examine the track for gouges, dents, corrosion, or fatigue cracks. Small surface imperfections can be filled with epoxy putty before coating, but structural deformation means the bowl needs metal repair or replacement.
- Degrease thoroughly. Wash the bare track with an industrial degreaser (acetone or isopropyl alcohol), then wipe dry with lint-free cloths. Any oil residue will prevent coating adhesion.
- Abrasive profile the surface. Grit blast to a 2-3 mil (50-75 micron) anchor profile. This gives the coating a mechanical bond. A smooth, polished surface will not hold coating reliably regardless of the adhesive chemistry.
- Apply primer if required. Some coating systems need a primer coat. Two-part epoxy primers are common for PU topcoats on stainless steel. Follow the manufacturer's specified flash-off time before applying the topcoat.
- Key takeaway: Surface preparation accounts for 60-70% of recoating labor time but determines 90% of the result. A perfectly applied coating on poorly prepared surface will fail faster than a mediocre application on a well-prepared one.
Material selection for recoating
The coating material you choose for recoating does not have to match the original. In fact, a recoating project is often the right time to switch to a more suitable material if the original choice was not optimal.
| Material | Typical Thickness | Expected Lifespan | Best For | Cure Time |
|---|---|---|---|---|
| Polyurethane (PU) | 0.5-1.5 mm | 2-4 years | General metal parts, noise-sensitive lines, cosmetic parts | 24-48 hrs at 25°C |
| Epoxy | 0.3-1.0 mm | 1.5-3 years | Chemical resistance, smooth flow surfaces, non-abrasive parts | 8-24 hrs at 25°C |
| PTFE (Teflon) | 0.1-0.3 mm | 1-2 years | Sticky parts, rubber, silicone, anti-static requirements | Heat cure at 380°C for 15 min |
| Tungsten Carbide | 0.2-0.5 mm | 5-8 years | Sharp or abrasive parts, high-wear applications | Thermal spray, no cure |
Polyurethane remains the default choice for most recoating jobs because it balances grip, noise reduction, and durability. Switch to epoxy when the line runs parts with oil residue that would degrade PU, or when a smoother surface is needed for small, lightweight components. PTFE is the right call for sticky elastomers but requires a high-temperature cure oven that not all facilities have. Tungsten carbide is a thermal spray process that must be done by a specialized shop, but it outlasts everything else in abrasive environments.
DIY versus professional recoating
Some maintenance teams attempt in-house recoating, especially for PU on smaller bowls. This is feasible with the right equipment and discipline, but the results vary widely.
- DIY is reasonable when: The bowl is under 300 mm diameter, the wear is localized, the team has spray equipment and a clean curing area, and production can tolerate 48-72 hours of downtime for curing.
- Professional recoating is necessary when: The bowl is over 400 mm, the coating material requires thermal curing (PTFE, tungsten carbide), the track geometry includes tight selector windows that demand precise thickness control, or the feeder is in a validated process (medical, automotive) that requires documentation.
The biggest risk with DIY recoating is inconsistent thickness. Hand-applied PU tends to pool in track valleys and thin out on convex surfaces. This changes the tooling geometry and can create new orientation problems that did not exist before the repair. Professional shops use controlled spray booths with rotating fixtures to maintain uniform thickness within ±0.15 mm.
- Key takeaway: DIY recoating saves 40-60% on direct cost but carries a higher risk of rework. If the feeder feeds a validated station, the cost of a failed recoat (lost production, rework, potential quality escape) far exceeds the savings.
Cost comparison: recoat versus replace
Cost depends heavily on bowl size, coating material, and whether the work is done in-house or by a specialist. The table below reflects typical 2026 pricing for a 350 mm stainless steel bowl in China-sourced manufacturing.
| Option | Material | Labor | Downtime | Total Cost (USD) | Expected Life |
|---|---|---|---|---|---|
| DIY spot recoat (PU) | $15-30 | 4-6 hrs | 48-72 hrs | $15-30 | 6-12 months |
| Professional full recoat (PU) | $40-80 | 8-12 hrs | 3-5 days | $150-350 | 2-4 years |
| Professional full recoat (Tungsten Carbide) | $120-200 | 8-12 hrs | 5-7 days | $350-600 | 5-8 years |
| Full bowl replacement (PU coated) | Included | 2-4 hrs swap | 1-2 days | $400-900 | 3-5 years |
| Full bowl replacement (Tungsten Carbide) | Included | 2-4 hrs swap | 1-2 days | $700-1400 | 7-10 years |
At first glance, a DIY spot recoat looks attractive. But factor in the shorter lifespan and the probability of rework, and the per-year cost converges quickly. For a bowl that runs 16 hours per day on a production line, the professional full recoat or replacement options almost always deliver lower total cost of ownership.
Post-recoating validation
After any coating repair, the feeder must be revalidated before it returns to production. This is not optional, even for a "simple" recoat. The new coating changes the friction path, and that changes how parts move through the tooling.
- Amplitude check: Run the feeder at the previously validated amplitude setting. If the feed rate is significantly different (more than ±10%), the coating thickness or surface friction is not matching the original. Adjust amplitude in small increments and record the new setting.
- Feed rate test: Count parts per minute at the standard fill level. Compare against the validated rate. A freshly coated bowl often feeds faster because the new surface has higher friction than the worn one. If the rate is too high, parts may overwhelm downstream stations.
- Orientation accuracy: Run 500 parts through and check for orientation escapes. The rate should match or improve on the pre-wear baseline. If escapes increase, the coating thickness at selector points may be distorting the tooling geometry.
- Cosmetic check: Inspect 50 parts for marks, scratches, or coating transfer. New PU can leave a slight residue for the first few hundred parts. Run a break-in period of 200-500 parts before declaring the repair validated.
- Key takeaway: A recoated bowl is a modified bowl. Treat the post-repair validation with the same rigor as a new feeder acceptance test. Document the new settings and keep them in the feeder maintenance file.
Frequently asked questions
How long does PU coating last on a bowl feeder?
PU coating typically lasts 2-4 years on a bowl feeder running 8-16 hours per day with standard metal parts. Heavy, sharp, or abrasive parts can reduce this to 12-18 months. The coating lasts longer when the feeder runs at the minimum amplitude needed for the target feed rate rather than at maximum vibration.
Can you recoat over existing coating?
Technically possible but not recommended. The adhesion between old and new coating layers is unreliable, and the added thickness distorts tooling geometry. Always strip the old coating down to bare metal before applying new material. This is the single most important step in a recoating project.
What is the best coating for oily parts in a bowl feeder?
Epoxy coatings perform better than PU in oily environments because they resist chemical softening. Tungsten carbide is also effective for oily, heavy parts because its micro-textured surface provides mechanical grip regardless of lubrication. PTFE is the wrong choice for oily parts because the low friction surface cannot generate enough traction for parts to climb the track.
How much does professional bowl feeder recoating cost?
Professional recoating for a 350 mm bowl costs $150-350 for polyurethane and $350-600 for tungsten carbide, including surface preparation and curing. DIY material costs are $15-30 for PU but carry significant risk of inconsistent results and shorter lifespan.
How can I tell if coating wear is affecting feed rate?
Compare the current feed rate at the validated amplitude setting against the original acceptance test data. If the rate has dropped 10% or more and increasing amplitude restores it, coating wear is the likely cause. Also check for parts stalling in specific track sections, which indicates localized coating loss exposing the metal underneath.
Conclusion
Bowl feeder track coating repair is a routine maintenance task that becomes expensive when it is deferred too long or executed poorly. The key discipline is inspecting the coating on a schedule tied to production hours, not waiting for feed rate problems to force the issue. When recoating is the right choice, surface preparation and thickness control determine whether the repair lasts months or years. When the underlying metal is damaged or the bowl has accumulated multiple repair layers, replacement is the correct engineering decision despite the higher upfront cost. If you need help evaluating a worn bowl or planning a recoating project, contact Huben Automation with your current bowl photos and defect pattern.
Ready to Automate Your Production?
Get a free consultation and detailed quote within 12 hours from our engineering team.