Bowl Feeder Multi-Part Changeover Guide: Reducing Setup Time Between Part Families

Changeover time is the hidden capacity killer
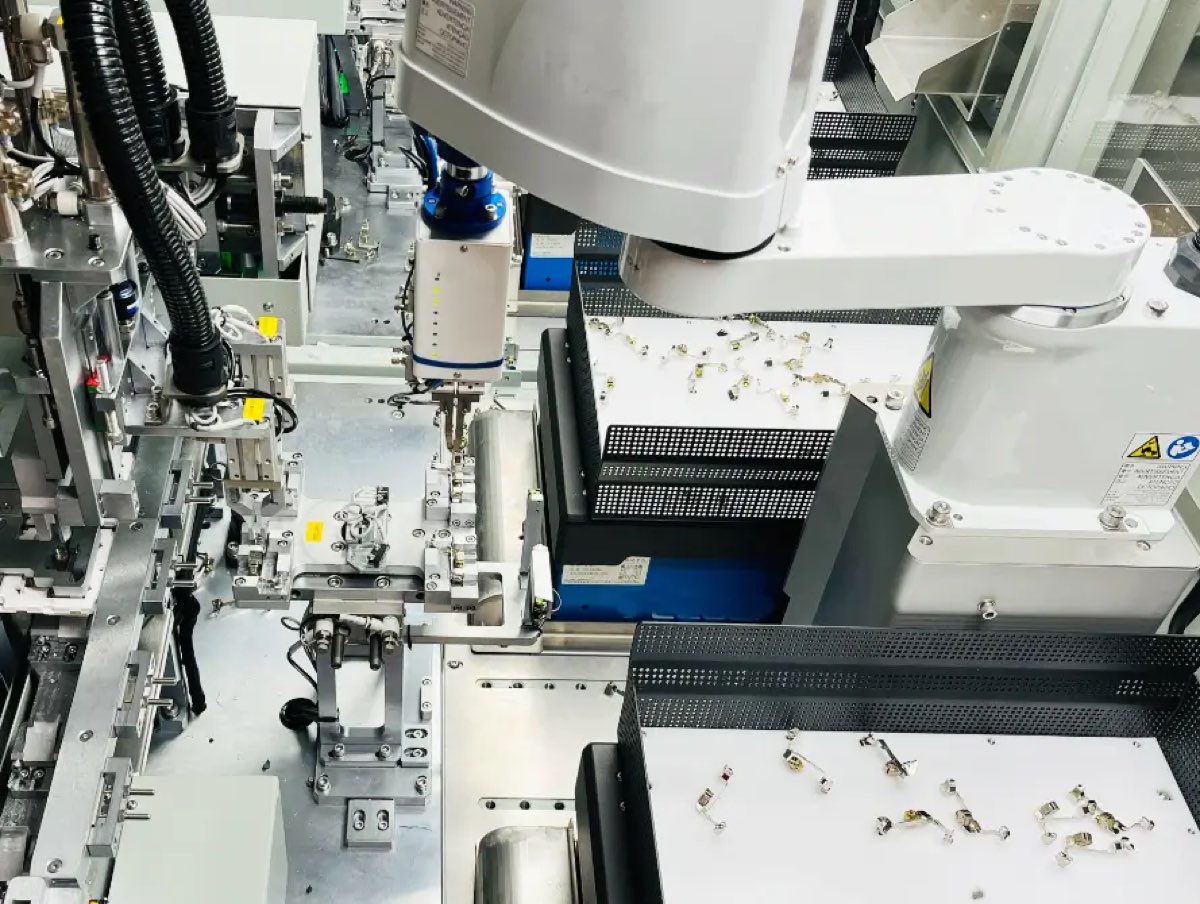
When a production line switches from one part family to another, the vibratory bowl feeder is often the bottleneck. Tooling swaps, amplitude adjustments, air jet repositioning, and trial-and-error tuning can consume 30 minutes to 4 hours depending on the feeder type and the difference between part families. On a line that changes over twice per shift, that lost time adds up to a significant capacity reduction.
The good news is that feeder changeover follows the same improvement logic as any other setup process. The SMED methodology (Single-Minute Exchange of Die), originally developed for stamping presses, applies directly to bowl feeder systems with a few domain-specific adaptations. This guide covers the framework, the hardware changes that make fast changeover possible, and the verification steps that ensure the new setup runs correctly from the first part. For a deeper treatment of changeover reduction methodology, see our bowl feeder changeover reduction guide.
SMED methodology applied to feeder systems
SMED divides setup activities into two categories: internal setup (tasks that can only be done while the machine is stopped) and external setup (tasks that can be done while the machine is still running the previous job). The improvement sequence is straightforward but requires discipline.
- Document the current changeover. Video-record a full changeover and classify every step as internal or external. Most teams discover that 40-60% of their changeover time is spent on tasks that could be done before the line stops.
- Move external tasks offline. Pre-stage the new tooling inserts, pre-adjust air jets on a fixture, pre-load the controller recipe, and prepare the changeover kit at a bench while the current part is still running.
- Streamline internal tasks. Replace bolts with quick-release clamps, use dowel pins for repeatable positioning, and standardize mounting patterns so tooling swaps do not require realignment.
- Eliminate adjustments. The ultimate SMED goal is a changeover that requires no tuning after the swap. This means designing tooling and fixtures that are self-locating and self-aligning.
In feeder terms, the internal setup includes removing the old bowl or tooling inserts, installing the new ones, and verifying the first parts. Everything else, gathering tools, pre-setting air jets, loading controller parameters, and filling the hopper with the new part, should be external.
- Key takeaway: Before investing in new hardware, classify your current changeover steps. Moving just the preparation and staging tasks offline typically cuts changeover time by 30-50% with zero capital expenditure.
Classifying feeder changeover activities
The table below maps common feeder changeover tasks to their SMED classification and shows the typical time impact.
| Task | SMED Class | Typical Time | Improvement Action |
|---|---|---|---|
| Gather tools and hardware | External | 5-10 min | Pre-stage in changeover kit |
| Pre-set air jet positions | External | 5-15 min | Set on bench fixture before swap |
| Load controller recipe | External | 2-5 min | Pre-load via HMI or PLC |
| Remove old tooling inserts | Internal | 5-10 min | Quick-release clamps, no bolts |
| Install new tooling inserts | Internal | 5-15 min | Dowel-pin located, single-handle lock |
| Adjust amplitude and frequency | Internal | 5-20 min | Recipe-driven controller auto-set |
| Verify first 50 parts | Internal | 5-10 min | Standardized verification checklist |
| Tune selectors and air jets | Internal | 10-30 min | Pre-tuned inserts eliminate this |
The biggest time savings come from eliminating the "tune selectors and air jets" step. If the new tooling inserts arrive pre-tuned and the controller recipe auto-sets the vibration parameters, the internal setup shrinks to a mechanical swap plus a short verification run.
Modular tooling with quick-change fixtures
Traditional bowl feeders have tooling machined or welded directly into the bowl body. Changing the part family means changing the entire bowl, which is heavy, expensive, and slow. Modular tooling separates the contact surfaces from the bowl structure.
The modular approach uses a base bowl with standardized mounting points. Tooling inserts, which are the track sections, selectors, and orientation features that contact the parts, attach to the base bowl with quick-release clamps and dowel pins. When the part family changes, only the inserts are swapped, not the entire bowl.
- Insert material: Machined aluminum or 3D-printed nylon for prototyping; stainless steel or hardened tool steel for production volumes. Inserts for lightweight parts can use laser-cut acrylic or Delrin for faster iteration.
- Mounting pattern: Standardize on a grid of M5 or M6 threaded inserts on the bowl floor, spaced at 25 mm or 50 mm intervals. This allows any insert to be positioned anywhere on the bowl without custom drilling.
- Alignment: Use two dowel pins per insert for angular and lateral location. The clamp provides only the holding force, not the positioning. This means re-installing an insert returns it to within ±0.1 mm of its original position without any adjustment.
The trade-off is that modular inserts have slightly more compliance than integral tooling because the clamp interface is not as rigid as a weld. For most parts, this compliance is negligible. For very high-speed feeders running above 60 parts per minute with tight orientation tolerances, integral tooling may still be preferable.
- Key takeaway: Modular tooling reduces changeover from a 1-4 hour bowl swap to a 10-20 minute insert swap. The upfront cost is 15-25% higher than integral tooling because you are machining separate inserts instead of building features into the bowl, but the payback on a line that changes over daily is measured in weeks.
Changeover kit preparation
A changeover kit is a pre-staged collection of everything needed to switch from one part family to another. The kit should be complete enough that the operator never has to leave the machine to find a part, tool, or setting.
Each kit contains:
- Tooling inserts for the new part family, already mounted on their alignment plates if the system uses plate-mounted inserts.
- Air jet nozzles pre-set to the correct angle and flow rate, mounted on a fixture that matches the insert positions.
- Controller recipe card with the amplitude, frequency, and delay settings for the new part. If the controller supports recipe storage, the recipe number should be printed on the card.
- Hardware bag with any specific clamps, shims, or spacers needed for this particular changeover.
- Verification sample of 20-50 parts from the new family, pre-inspected, for the first-article check after changeover.
Store each kit in a labeled container near the feeder. The kit for the next scheduled changeover should be staged at the machine before the current run ends. For detailed kit planning, see our feeder changeover kit planning guide.
Setup verification checklist
After every changeover, run through a standardized verification sequence before releasing the feeder to production. This catches setup errors early and prevents scrap from reaching downstream stations.
- Visual inspection: Confirm all inserts are seated against their dowel pins and clamps are locked. Check that no hardware is loose inside the bowl.
- Controller settings: Verify the recipe is loaded. Confirm amplitude and frequency match the recipe card. If the controller displays current draw, check that it is within the expected range for this part family.
- First-article run: Feed 50 parts at the target rate. Check orientation accuracy by counting escapes. The escape rate should be below the validated threshold (typically less than 0.5% for most applications).
- Feed rate confirmation: Measure parts per minute over a 2-minute window. The rate should be within ±10% of the target. If the rate is too low, check for track obstructions or insufficient amplitude. If too high, verify that the downstream station can handle the throughput.
- Part quality check: Inspect 10 parts from the verification run for marks, scratches, or damage. Compare against the quality standard for this part family.
- Key takeaway: A verification checklist takes 5-10 minutes but prevents the 30-60 minutes of scrap and rework that result from an undetected setup error. Make the checklist a mandatory sign-off step, not an optional suggestion.
Benchmark changeover times by feeder type
Changeover performance depends heavily on the feeder architecture. The benchmarks below assume a well-organized changeover process with pre-staged kits and trained operators.
| Feeder Type | Traditional Changeover | SMED-Optimized | Best Achievable |
|---|---|---|---|
| Vibratory bowl, integral tooling | 60-240 min | 30-60 min | 20 min (full bowl swap on cart) |
| Vibratory bowl, modular inserts | 30-90 min | 10-20 min | 8 min (pre-tuned inserts) |
| Centrifugal feeder, change bowl | 20-45 min | 10-15 min | 5 min (quick-disconnect bowl) |
| Flexible feeder (vision + robot) | 5-15 min | 2-5 min | 1 min (recipe change only) |
| Step feeder, change tracks | 30-60 min | 15-25 min | 10 min (modular track sections) |
Flexible feeders with vision-guided robots have the fastest changeover because the hardware does not change. The robot and vision system simply load a new recipe that defines the pick pose and orientation criteria for the new part. The trade-off is that flexible feeders run at lower rates (typically 15-30 ppm) compared to dedicated bowl feeders (40-120 ppm), so they are not a universal solution.
Frequently asked questions
What is a good changeover time for a bowl feeder?
A well-optimized bowl feeder with modular tooling should change over in 10-20 minutes. Traditional integral-tooling bowls typically require 1-4 hours. The benchmark depends on how different the part families are; switching between two similar fasteners is faster than switching from a screw to a plastic clip.
Can any bowl feeder be converted to modular tooling?
Most stainless steel bowls can be retrofitted with modular mounting points. The conversion involves machining threaded inserts and dowel-pin holes into the bowl floor, then fabricating removable tooling inserts that match the original track geometry. The cost is typically 40-60% of a new bowl, and the conversion requires the bowl to be out of production for 3-5 days.
How many part families can one modular bowl handle?
A single modular bowl base can support 5-15 part families depending on how different the parts are. The limiting factor is not the bowl but the insert storage and management overhead. Each part family requires its own set of inserts, air jets, and controller recipe. Beyond 10-15 families, the logistics of storing and tracking kits becomes a management challenge.
Does modular tooling affect feed rate or orientation accuracy?
Modular inserts typically match integral tooling within ±5% on feed rate and ±0.2% on orientation accuracy. The slight compliance at the clamp interface can cause minor variation at very high speeds (above 60 ppm). For most applications running at 20-50 ppm, the difference is not measurable in production.
How do I justify the cost of changeover improvement?
Calculate the lost production hours per month from changeover downtime, multiply by the line's hourly output value, and compare against the one-time cost of modular tooling conversion and kit preparation. Most lines that change over more than twice per week recover the investment in 2-4 months.
Conclusion
Reducing bowl feeder changeover time is not primarily a hardware problem. It is a process discipline problem that starts with classifying setup activities, staging changeover kits, and standardizing verification. Modular tooling is the hardware enabler that makes sub-20-minute changeovers possible, but it only delivers results when the surrounding process, kit preparation, recipe management, and operator training, is equally well-organized. Start by video-recording your next changeover and classifying every step. The improvement opportunities will be immediately visible. If you want help designing modular tooling for your existing bowls or planning a changeover improvement project, contact Huben Automation with your part samples and current changeover procedure.
Ready to Automate Your Production?
Get a free consultation and detailed quote within 12 hours from our engineering team.