Bowl Feeder Gravity Track Design: Principles for Reliable Part Delivery

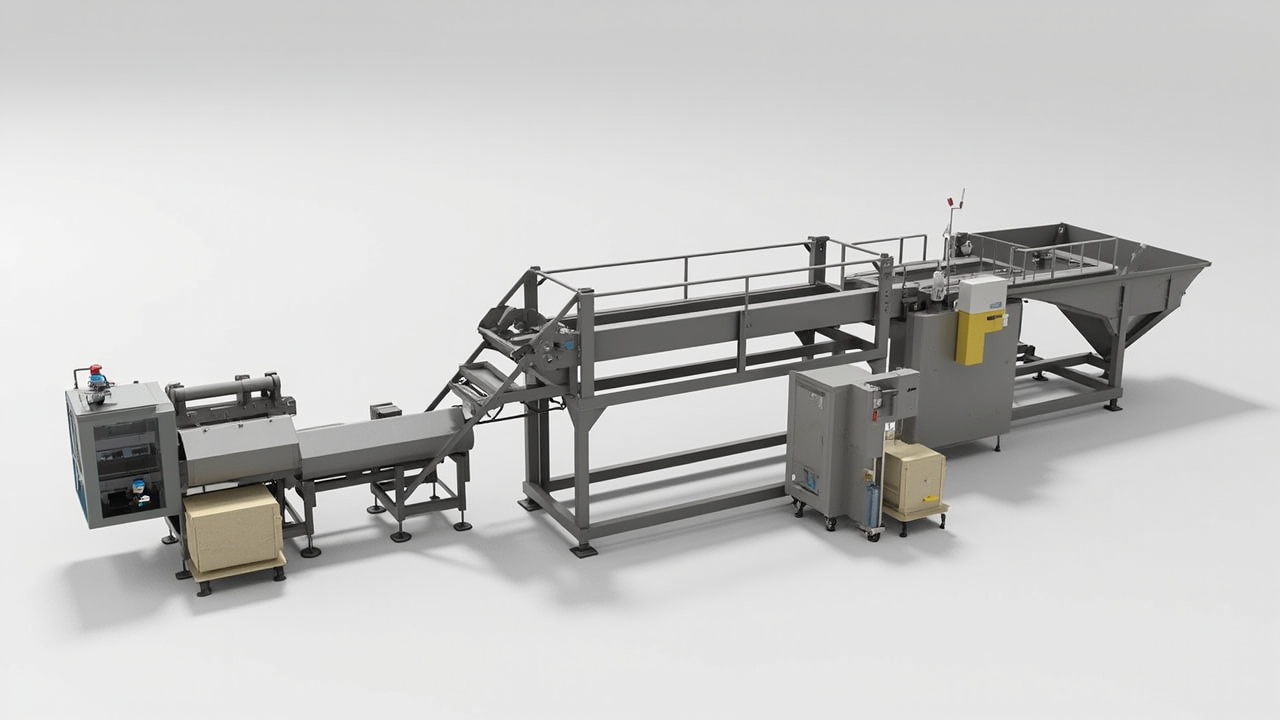
The gravity track is where good feeding goes wrong
A vibratory bowl feeder that orients parts perfectly at the discharge point can still fail to deliver them reliably to the downstream station. The gravity track — the chute, slide, or rail section between the bowl discharge and the pick point — is the link that connects the feeder to the assembly process. When this link is poorly designed, parts jam, flip, overlap, or arrive at the wrong speed. The feeder gets blamed, but the real problem is the track.
Gravity track design is deceptively simple in concept: parts slide downhill from the bowl to the station. In practice, the track must accommodate part geometry, control velocity, maintain orientation, handle transitions, and interface with escapements or pick mechanisms — all without external power. The track relies entirely on gravity and the initial momentum from the bowl discharge. Every degree of angle, every millimeter of clearance, and every surface finish choice affects whether parts arrive correctly.
This guide covers the engineering principles for gravity track design: track angle calculations by part type, width and sidewall geometry, surface finish and coating selection, transition design for curves and funnels, velocity control methods, anti-jam features, and integration with escapements and pick stations. For background on how the bowl discharge relates to the track, see our linear feeder vs bowl feeder comparison.
Track angle: the single most important parameter
The track angle determines whether parts slide, tumble, or stall. Too shallow and parts do not move. Too steep and parts accelerate out of control, losing orientation and impacting the downstream station. The correct angle depends on the part geometry, the coefficient of friction between the part and the track surface, and the desired part velocity at the delivery point.
Minimum angle for sliding: A part will begin to slide when the gravitational component along the track exceeds the friction force. This occurs when the track angle exceeds the arctangent of the coefficient of friction (μ). For steel parts on a polished steel track, μ ≈ 0.15-0.25, giving a minimum angle of 8-14 degrees. For plastic parts on the same surface, μ ≈ 0.25-0.40, requiring 14-22 degrees. For oily parts, μ can drop to 0.10, allowing angles as shallow as 6 degrees — but with very little margin for variation.
Recommended operating angles: In practice, the track angle should be set 5-10 degrees above the minimum sliding angle to provide a margin for friction variation, surface contamination, and part-to-part differences. This means most gravity tracks operate at 15-30 degrees from horizontal. Angles above 35 degrees should be avoided because parts begin to tumble rather than slide, which destroys orientation.
| Part type | Track surface | Typical μ | Minimum angle | Recommended angle |
|---|---|---|---|---|
| Dry steel on polished steel | Polished stainless | 0.15-0.20 | 9-11° | 15-20° |
| Dry steel on PU-coated track | Polyurethane | 0.20-0.30 | 11-17° | 18-25° |
| Plastic on polished steel | Polished stainless | 0.25-0.35 | 14-19° | 22-28° |
| Plastic on PU-coated track | Polyurethane | 0.30-0.45 | 17-24° | 25-32° |
| Oily steel on polished steel | Polished stainless | 0.08-0.15 | 5-9° | 12-18° |
| Rubber on polished steel | Polished stainless | 0.50-0.80 | 27-39° | 35-45° (consider linear feeder instead) |
Variable angle tracks: Some installations require the track to change angle along its length — a steep section for acceleration followed by a shallow section for velocity control. This is acceptable, but the transition between angles must be smooth (a curve, not a sharp bend) to prevent parts from launching off the track surface at the transition point. A radius of at least 5× the part length at the transition prevents this problem.
- Set the track angle 5-10 degrees above the minimum sliding angle to provide margin for friction variation
- Avoid angles above 35 degrees — parts tumble and lose orientation
- Use smooth curves at angle transitions with a radius of at least 5× the part length
- Consider a linear vibratory feeder instead for high-friction parts like rubber that require steep angles
Track width and sidewall design
The track must guide the part without allowing it to rotate, tip, or shift laterally. Track width and sidewall height are the primary geometric controls for maintaining orientation during gravity transport.
Track width: For cylindrical parts that must maintain a specific axial orientation, the track width should be 1.05-1.15 times the part diameter. This provides enough clearance for the part to slide without binding, but not enough room for the part to rotate. For rectangular parts, the track width should match the part width plus 0.5-1.0 mm per side clearance. Excessive clearance allows parts to shift sideways, which can cause them to arrive at the pick point in a slightly different position each cycle — a problem for robot picking that requires sub-millimeter positional repeatability.
Sidewall height: Sidewalls prevent parts from climbing out of the track during sliding. The minimum sidewall height depends on the part geometry and the track angle. For parts that slide flat on the track surface, sidewalls should be at least 0.5× the part height. For parts that stand on end (tall, narrow orientation), sidewalls should be at least 1.0× the part height to prevent tipping. At steep angles (above 25 degrees), increase sidewall height by 50% because parts bounce more vigorously.
Sidewall angle: Vertical sidewalls (90 degrees to the track surface) are the standard. Angled sidewalls (wider at the top) are sometimes used to reduce part-sidewall friction, but they also reduce the constraint on part position. In most cases, the slight reduction in friction from angled sidewalls is not worth the loss of positional control.
Multiple-lane tracks: When the track must deliver parts in multiple parallel lanes, divide the track with center rails rather than leaving an open channel. Open channels allow parts to cross between lanes, which defeats the purpose of lane separation. Center rails should be the same height as the outer sidewalls and should extend the full length of the track without gaps.
Surface finish and coating selection
The track surface finish directly affects the coefficient of friction, which determines the minimum track angle and the part velocity. Selecting the right surface finish is a balance between low friction (for reliable sliding) and adequate grip (for velocity control and orientation maintenance).
Polished stainless steel (Ra 0.2-0.4 μm): The default choice for most applications. Low friction, durable, easy to clean, and resistant to corrosion. Suitable for steel, aluminum, and most plastic parts. The main limitation is that polished steel provides no energy absorption — parts slide fast and arrive at the bottom with high velocity, which may require a deceleration zone or escapement damping.
Polyurethane coating (2-3 mm thickness): Higher friction than polished steel, which means steeper track angles are required, but the coating absorbs impact energy and reduces part damage. PU-coated tracks are preferred for parts with cosmetic surfaces, soft metals (aluminum, brass), and parts that must arrive at the pick point with minimal bounce. The coating also provides some vibration damping, which reduces noise.
PTFE (Teflon) coating or UHMWPE liner: Very low friction, allowing shallow track angles. Useful for parts that are difficult to slide on other surfaces, such as rubber or silicone parts. The trade-off is poor wear resistance — PTFE and UHMWPE surfaces wear significantly faster than metal or PU, requiring more frequent replacement. Use these materials only where low friction is essential and the track is accessible for resurfacing.
Hardcoat anodized aluminum: A good compromise for aluminum track structures. The anodized surface is harder than the base metal, providing wear resistance while maintaining the weight advantage of aluminum. Suitable for dry, non-abrasive parts. Avoid for applications with steel parts or abrasive materials, which will wear through the anodized layer.
Surface finish maintenance: Whatever the surface material, inspect it regularly for wear, scoring, and contamination buildup. A worn track surface has a different friction coefficient than a new one, which changes the part velocity and can cause jams at the bottom of the track. Establish a visual inspection schedule and a coating thickness measurement protocol for critical tracks.
Transition geometry: curves, funnels, and gates
Most gravity tracks are not a single straight chute from bowl to station. They include transitions: curves to change direction, funnels to narrow from a wide bowl discharge to a narrow pick point, and gates to control part flow. Each transition is a potential jam point if not designed correctly.
Curves: The minimum inside radius of a curve should be at least 3× the part length. Tighter curves cause parts to jam against the outer sidewall, especially at the leading end of the part. The track width through a curve should be increased by 10-20% compared to the straight sections to accommodate the part's swept path. The outer sidewall should be heightened by 50% through curves because centrifugal force pushes parts outward and upward.
Funnels and tapers: When the track narrows from a wide discharge to a narrow pick point, the taper angle should not exceed 10 degrees per side. Steeper tapers cause parts to wedge at the transition point. The taper should be smooth and continuous — a stepped or abrupt transition creates a ledge that catches part edges. If the width reduction exceeds 50%, consider using a two-stage funnel with an intermediate section rather than a single aggressive taper.
Gates and stops: A gate is a movable barrier that stops part flow when the downstream station is not ready. The gate must stop parts without allowing them to pile up and jam behind it. This requires a gate length at least 2× the part length, so that when the gate closes, it contacts the leading part cleanly without the second part overlapping the gate edge. Pneumatic cylinder gates are common; for high-speed applications, rotary gates provide faster actuation.
Anti-jam features at transitions: Every transition point should include a relief feature that prevents parts from wedging. The most effective is a small chamfer or radius (0.5-1.0 mm) on all edges where the track geometry changes. This prevents the sharp edge from catching part features. Additionally, a slight undercut (0.2-0.3 mm) at transition points allows parts that are beginning to wedge to self-clear under the weight of following parts.
- Minimum curve radius: 3× the part length — tighter curves cause sidewall jams
- Maximum taper angle: 10 degrees per side — steeper tapers cause parts to wedge
- Gate length: at least 2× the part length — shorter gates allow parts to overlap and jam
- Add chamfers at every transition edge — 0.5-1.0 mm radius prevents part-edge catching
Part velocity control and anti-jam design
Parts accelerating down a gravity track can reach velocities that cause problems at the delivery point. A 10-gram steel part sliding down a 25-degree track with a 500 mm travel distance reaches approximately 1.3 m/s at the bottom. This velocity can damage the part, the escapement, or the pick nest on impact. Velocity must be controlled to match what the downstream equipment can accept.
Deceleration zones: The simplest velocity control method is a shallow-angle section at the bottom of the track. If the main track is at 25 degrees, transition to a 10-degree section for the last 100-150 mm before the pick point. This section decelerates the part by converting kinetic energy into work against friction. The length of the deceleration zone depends on the entry velocity and the desired exit velocity. As a rule of thumb, a deceleration zone that is 20-30% of the total track length reduces exit velocity by 40-60%.
Friction brakes: A section of higher-friction surface (PU coating instead of polished steel, or a textured surface) in the deceleration zone increases the braking effect without changing the track angle. This is useful when space constraints prevent a long deceleration section. The transition from low-friction to high-friction surface must be gradual to avoid parts tumbling at the boundary.
Buffer zones: A buffer zone is a short horizontal or near-horizontal section before the escapement where parts queue under their own weight. The queue of parts acts as a natural shock absorber — the arriving part pushes against the queue rather than impacting the escapement directly. Buffer zones should be 3-5 part lengths long to provide adequate cushioning without excessive queue length.
Anti-jam design principles:
- Eliminate dead zones: Any area where a part can come to rest without reaching the discharge is a potential jam point. Ensure every point on the track surface slopes toward the discharge at an angle above the minimum sliding angle.
- Avoid over-constraint: A track that grips the part too tightly (narrow width, tight curves, close-fitting sidewalls) allows no tolerance for part variation or slight misorientation. Design for the full tolerance range of the part, not just the nominal dimensions.
- Provide escape paths: At every point where parts could potentially wedge, provide a relief slot or undercut that allows the wedged part to clear under gravity or vibration. This is especially important at the junction between the gravity track and the escapement.
- Test with worst-case parts: Validate the track design with parts at the extreme ends of the tolerance range — maximum and minimum dimensions, maximum and minimum weight, and with surface conditions that represent the worst-case friction (oily, dry, dusty).
Integration with escapements and pick stations
The gravity track terminates at the escapement or pick station, and the interface between the track and the downstream equipment is the most critical design point. A well-designed track that delivers parts reliably to the top of the escapement can still fail if the handoff geometry is wrong.
Track-to-escapement transition: The last 20-30 mm of the track should be horizontal or slightly uphill (2-3 degrees) to decelerate parts as they approach the escapement. The track should end flush with the escapement entrance — a gap between the track end and the escapement allows parts to drop or tip, while an overlap creates a ledge that catches part edges. The sidewalls should extend through the transition and connect smoothly to the escapement guide rails.
Pick nest design: If the track feeds directly into a pick nest (no escapement), the nest must locate the part precisely for the robot or pick mechanism. The nest geometry should match the part's oriented attitude with 0.1-0.3 mm clearance. Too much clearance allows the part to shift between cycles; too little clearance causes parts to jam in the nest. Include a slight lead-in chamfer (1-2 mm at 30 degrees) at the nest entrance to guide parts that arrive slightly misaligned.
Sensor placement: Install a part-present sensor at the pick point and a track-full sensor 3-5 part lengths upstream. The part-present sensor confirms that a part is ready for picking. The track-full sensor detects when parts are backing up, which indicates a downstream problem. Without the track-full sensor, a jam at the escapement can propagate back up the track into the bowl, causing a much more serious stoppage. For more on sensor selection, see our vibratory feeder tooling design guide.
| Design element | Recommended value | Consequence of deviation |
|---|---|---|
| Track-to-escapement gap | 0 mm (flush) | Parts drop or tip at gap; ledge catches edges at overlap |
| Pick nest clearance | 0.1-0.3 mm per side | Position variation if too loose; jam if too tight |
| Nest entrance chamfer | 1-2 mm at 30° | Misaligned parts jam without chamfer |
| Track-full sensor distance | 3-5 part lengths upstream | Jam propagates into bowl if too close |
| Deceleration zone length | 20-30% of total track | Excessive impact velocity if too short |
Frequently Asked Questions About Gravity Track Design
What is the minimum gravity track length I can use?
There is no absolute minimum, but very short tracks (under 100 mm) often cause problems because they do not provide enough distance for parts to stabilize after leaving the bowl discharge. Parts exiting a vibratory bowl have residual vibration energy that causes them to bounce and shift. A track length of at least 3× the part length allows the part to settle into stable sliding before reaching the escapement. If space constraints require a shorter track, consider using a linear vibratory feeder section instead of pure gravity — it provides controlled transport in a compact footprint.
Should I use curved or straight gravity tracks?
Straight tracks are always preferred because they are simpler to manufacture, easier to adjust, and less prone to jams. Use curved tracks only when the physical layout requires a direction change. When curves are necessary, use the largest possible radius (minimum 3× part length) and increase track width through the curve by 10-20%. Avoid S-curves (two curves in opposite directions) if possible — they are the most jam-prone track configuration. If an S-curve is unavoidable, separate the two curves with a straight section at least 2× the part length.
How do I handle oily parts on a gravity track?
Oily parts slide easily on polished surfaces, which means you can use shallower track angles (12-18 degrees instead of 15-25). However, oil accumulation on the track surface creates two problems: it reduces friction too much (parts accelerate uncontrollably) and it attracts debris that eventually increases friction unpredictably. The practical solution is to use a PU-coated track surface, which provides more consistent friction in the presence of oil, and to install a drip tray or drain at the bottom of the track to prevent oil accumulation. Clean the track surface weekly in oily-part applications.
Can I vibrate the gravity track to prevent jams?
Yes, and this is a common technique for tracks that handle parts prone to bridging or hanging. A small pneumatic vibrator or electromagnetic vibrator mounted on the track body provides a low-amplitude, high-frequency vibration that keeps parts moving without disturbing their orientation. The vibration amplitude should be very low — just enough to overcome static friction, not enough to make parts bounce. A typical setting is 0.1-0.3 mm amplitude at 50-100 Hz. Use a separate controller for the track vibrator so it can be adjusted independently of the bowl vibration. Be aware that track vibration adds noise and requires a flexible connection between the track and the stationary pick station.
Conclusion
Gravity track design is a detail-oriented discipline that determines whether a well-performing bowl feeder actually delivers parts reliably to the downstream process. The track angle must match the part-surface friction combination with adequate margin. Track width and sidewalls must constrain the part without over-constraining it. Surface finish must balance low friction for sliding with adequate grip for velocity control. Transitions must be smooth, and the interface with the escapement must be precise. Every one of these parameters matters — a single poor transition or an incorrect angle can negate an otherwise excellent feeder-track system. The principles in this guide provide the engineering foundation for gravity track design that works reliably in production. If you need help designing a gravity track for a specific part and layout, contact Huben Automation — our engineers design the complete feed path from bowl to pick point as an integrated system.
Ready to Automate Your Production?
Get a free consultation and detailed quote within 12 hours from our engineering team.